Understanding Evening Lighting
Try Palette Immo AI Interior Styler
Transform empty rooms and listing photos with AI virtual staging and interior design. Get started in minutes.
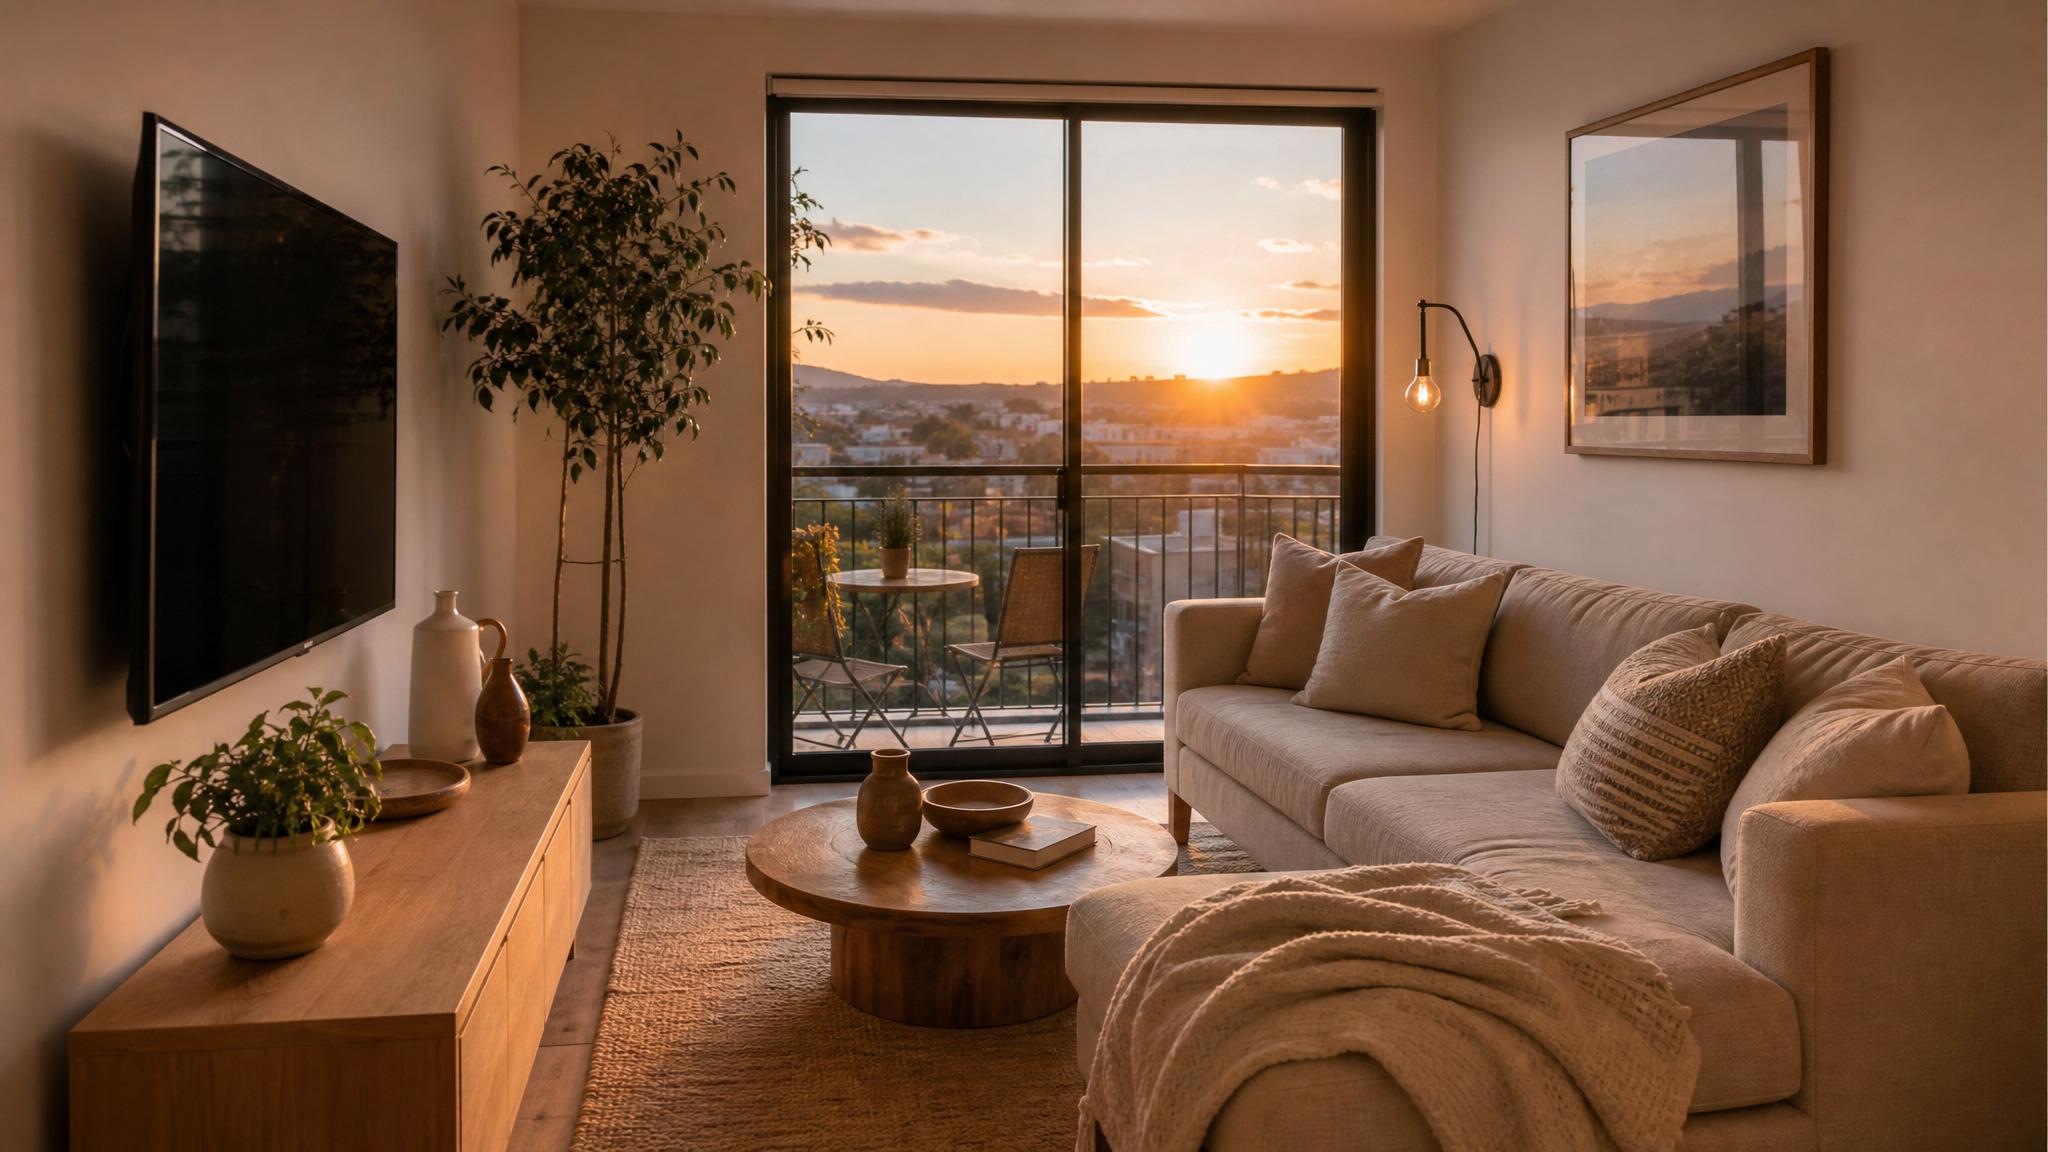
Get startedEvening lighting can dramatically alter the aesthetic of your small living room. The golden hour, which occurs shortly before sunset, provides warm, diffused light that enhances colors and textures. However, as day turns to night, artificial lighting becomes crucial for capturing inviting, well-lit photos.
1. Emphasize Warm Light
Use warm-toned bulbs to create a welcoming atmosphere. Warm lighting can soften the appearance of a small room, making it feel more inviting.
2. Layer Your Lighting
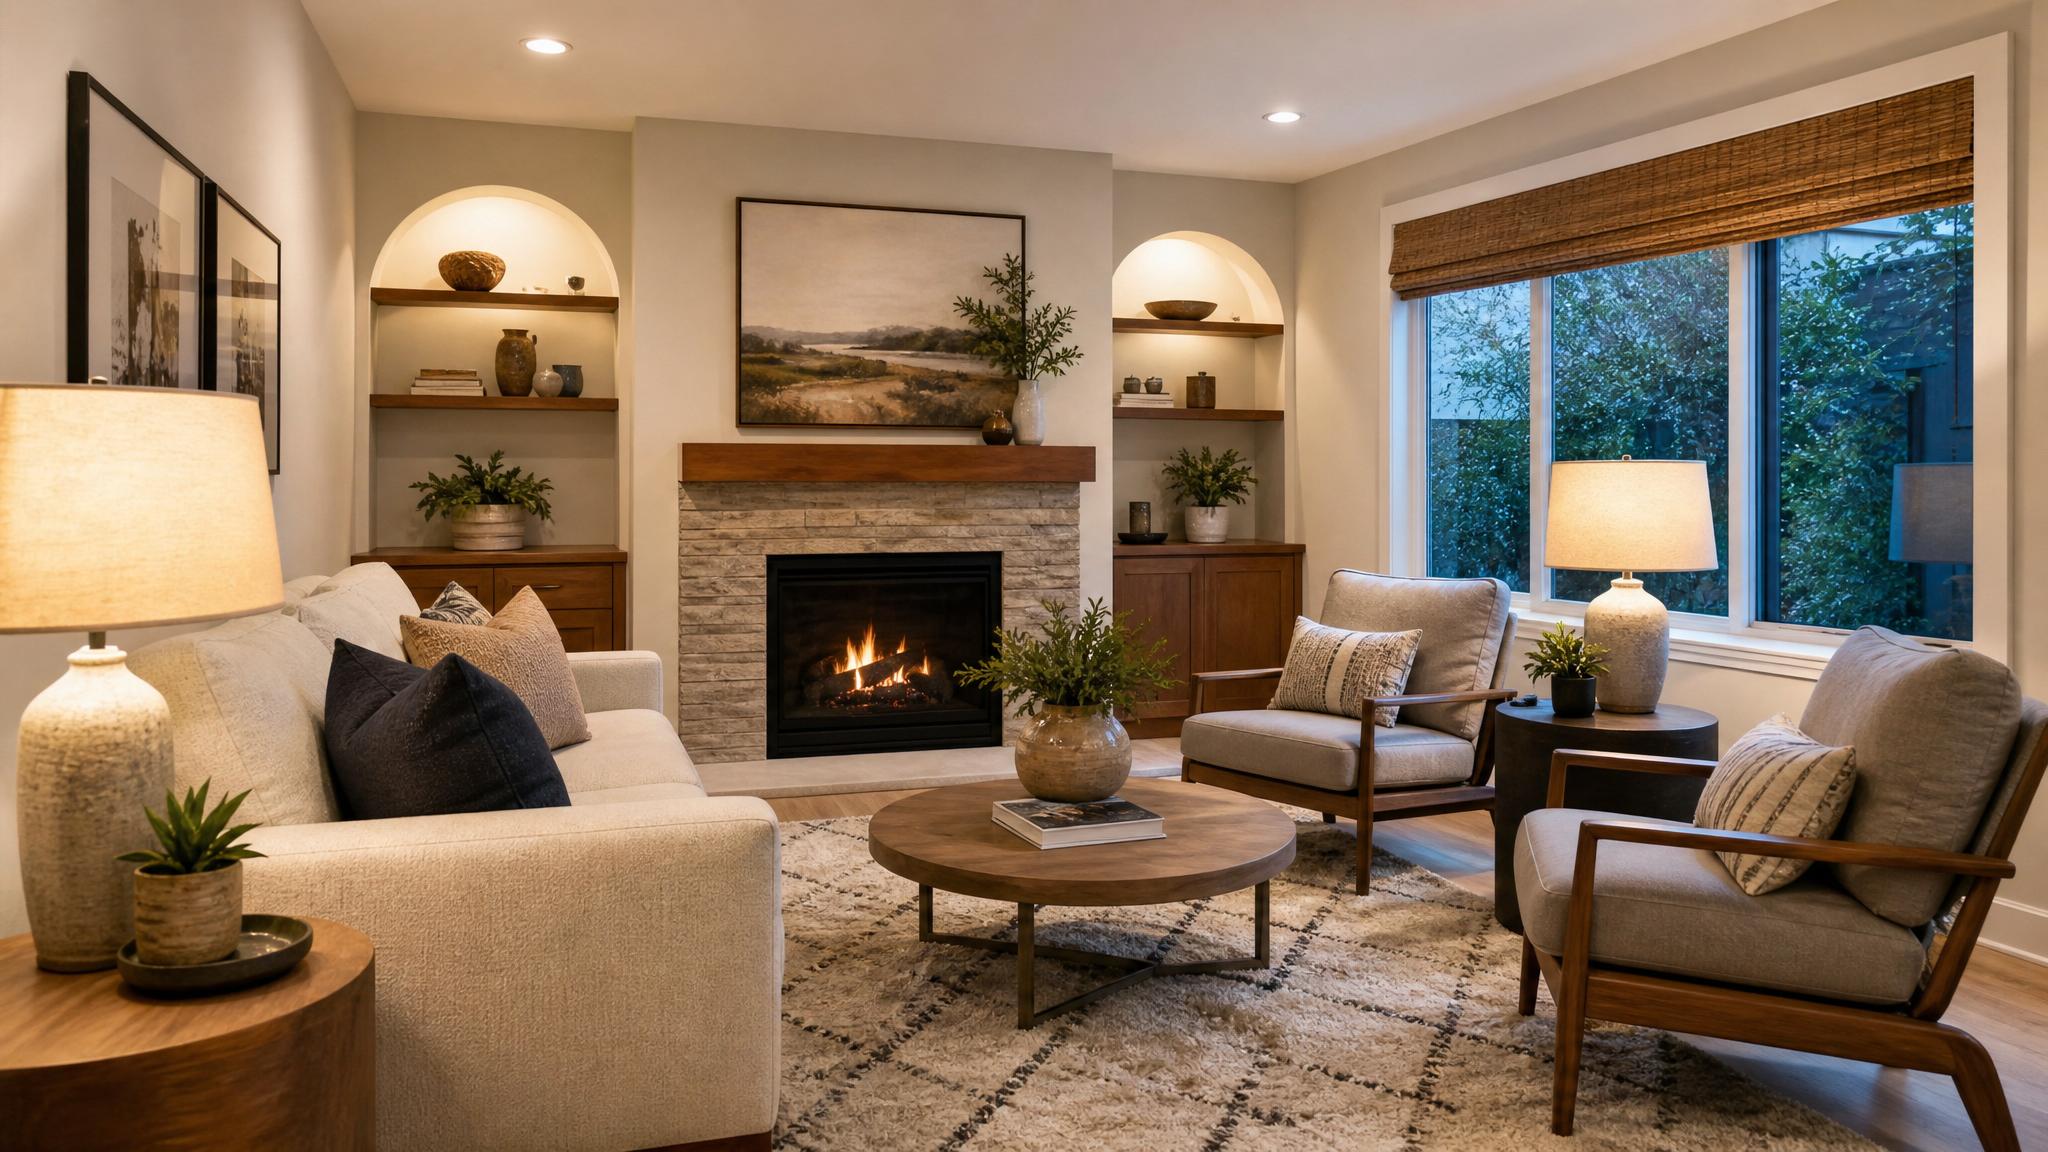
Layering involves combining multiple light sources, such as ambient, task, and accent lighting. This approach will add depth and dimension to your space.
3. Utilize Table Lamps and Floor Lamps
Table and floor lamps provide excellent localized lighting. They can highlight specific areas in your living room and add character to the overall design.
4. Avoid Overhead Lighting
Overhead lights can cast unflattering shadows, particularly in a small space. Instead, focus on lower, softer lights to create a more flattering glow.
5. Incorporate Dimmers
Dimmers allow you to control the intensity of the light, helping to set the ideal mood for your photos. Lowering the light can create a more intimate and inviting atmosphere.
6. Use Natural Light Strategically
During the evening, your small living room may still benefit from remaining natural light. Open curtains and pull back drapes to let as much natural light in as possible.
7. Highlight Key Features
Identify the focal points of your living room, like art pieces or architectural features, and use lighting to highlight them. This can create a dynamic photograph.
8. Decorate with Candles
Candles add an organic source of light that creates a warm and inviting ambiance. Small clusters of candles can add a design element while enhancing the evening light.
9. Choose the Right White Balance
Adjust your camera’s white balance settings to suit the kind of lighting you have in your living room. Warmer settings can help balance the overall tone of the photo.
10. Stage Spaces Before Nightfall
Whenever possible, set up your living room before it gets dark. This allows you to plan the lighting and composition based on available natural light.
11. Minimize Clutter
A smaller space benefits from minimalism. Remove unnecessary items before taking photos to make the living room appear larger and more appealing.
12. Review Your Shots
After taking initial photos, evaluate them for brightness and focus. Make adjustments to ensure the lighting enhances the room’s beauty.
Key takeaway
Experimenting with different lighting techniques can transform your small living room photos. Be creative with your light sources and always prioritize warmth and clarity.