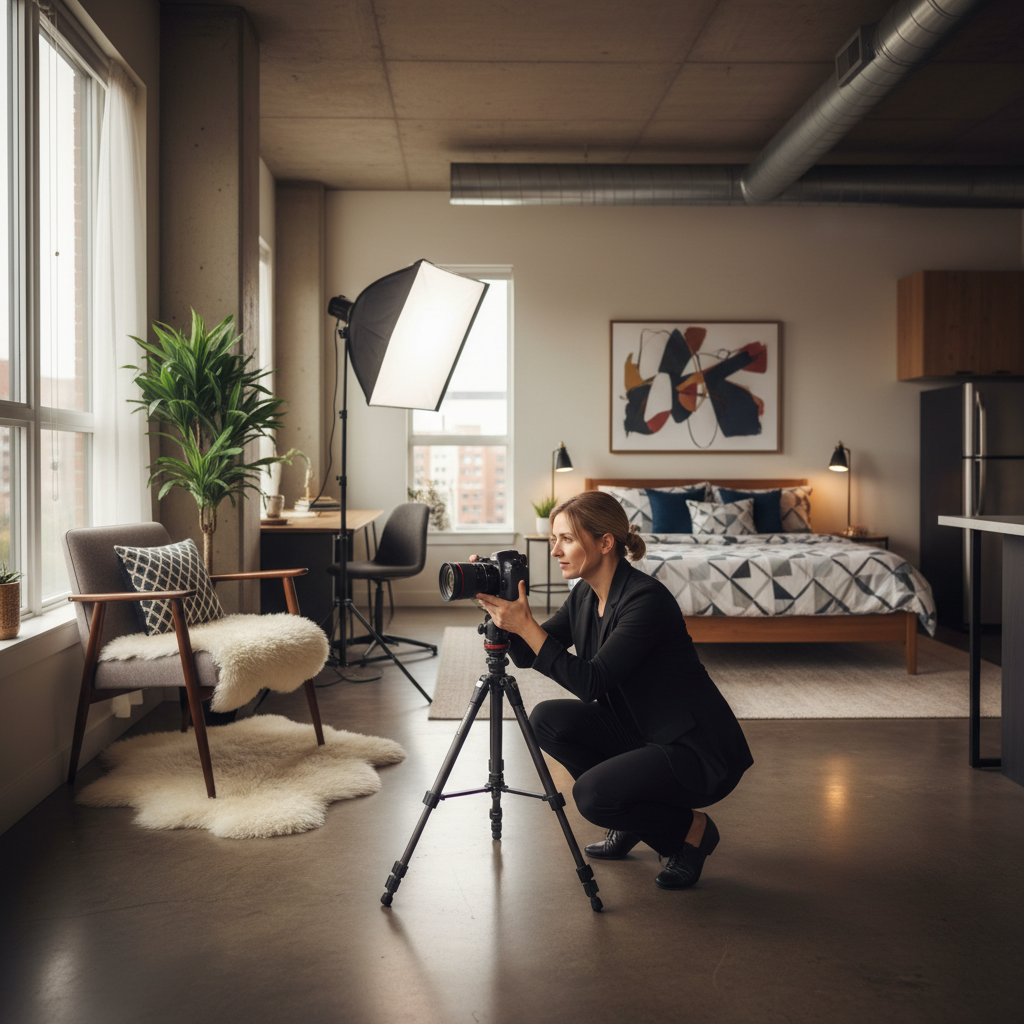
Why Quality Photos Matter in Real Estate
Try Palette Immo AI Interior Styler
Transform empty rooms and listing photos with AI virtual staging and interior design. Get started in minutes.
Get startedIn the world of real estate, first impressions are everything. High-quality listing photos can significantly influence a potential buyer's perception of a property. They can make a small studio appear more spacious, inviting, and well-designed. With the right techniques, sellers can highlight a property's best features and invite more interest from buyers.
1. Declutter the Space
Before taking photos, it's crucial to declutter the studio. Remove personal items, excess furniture, and anything that might distract a buyer. A clean, open space allows potential clients to visualize their own belongings and make a connection to the space.
2. Use Natural Light Wisely
Natural light enhances the warmth and brightness of your studio. Open curtains and blinds to let in as much light as possible. Early morning or late afternoon often provides the best light for photography, so make the most of those times.
3. Opt for Wide-Angle Lenses
Wide-angle lenses can capture more of the studio in a single shot, making the space appear larger. However, be cautious of distortion; you want to ensure that the image looks realistic rather than exaggerated.
4. Stage the Space
Virtual staging tools like Palette.immo can help you visualize how a space can look when properly furnished. Utilize AI technology to add furniture and decor digitally, showcasing the studio's potential without the hassles of physical staging.
5. Focus on Unique Features
Every studio has unique features, whether it's a beautiful view, interesting architecture, or custom cabinetry. Make sure to capture these elements; they can set the listing apart from other properties.
6. Mind the Angles
Experiment with different angles to find the most flattering perspectives of the studio. A lower angle can create a sense of height, while shooting from the corners can provide depth and dimension. Get creative to highlight the property’s best aspects.
7. Ensure Proper White Balance
Lighting can vary from bulb to bulb; ensure you are setting the correct white balance to avoid yellow or blue tones that may misrepresent the color of the walls or flooring. Adjusting this setting will improve your photo's overall appeal.
8. Consider Post-Editing
Post-editing can help enhance your photos, correct lighting issues, and even remove unwanted items that may have slipped into the frame. Simple editing tools allow you to brighten photos, enhance color saturation, and sharpen images to make them eye-catching.
9. Use Tripods for Stability
A tripod helps maintain stable, consistent shots. When taking numerous photos, keeping your camera at the same height ensures uniformity, which is especially beneficial if you're doing multiple angles or rooms.
10. Highlight Amenities
If your studio is located in a complex with shared amenities, such as a gym or rooftop terrace, be sure to photograph these areas. Showcasing both the private and communal spaces adds value to the listing.
11. Capture the Flow
Include images that show how rooms connect to one another. Capturing this flow helps potential buyers imagine living in the space and how they might arrange their own belongings.
12. Time Your Shoot Wisely
Choosing the right time for your photo shoot is crucial. Overcast days can create soft lighting, while sunny days often highlight a studio's bright features. Know the weather patterns and timing to capture the studio at its best.
13. Limit Reflections
Watch out for reflections in mirrors and windows. These can often detract from the image; you want the focus to be on the studio space and not any reflected distractions. Adjust your angle or take a few steps to minimize these reflections.
14. Show Scale with Accessories
Incorporating accessories like potted plants, throw blankets, and decorative cushions can add warmth. They also help portray scale in the studio, making it easier for buyers to visualize how their own belongings fit into the space.
15. Avoid Flash
Using flash can create harsh shadows and overly bright spots; instead, rely on natural light. If the studio is particularly dim, consider enhancing the photo in post-editing instead of using flash during the shoot.
16. Keep It Welcoming
Set a welcoming tone with small touches, like a fresh vase of flowers or a styled table setting. These details help create an inviting atmosphere that potential buyers can envision living in.
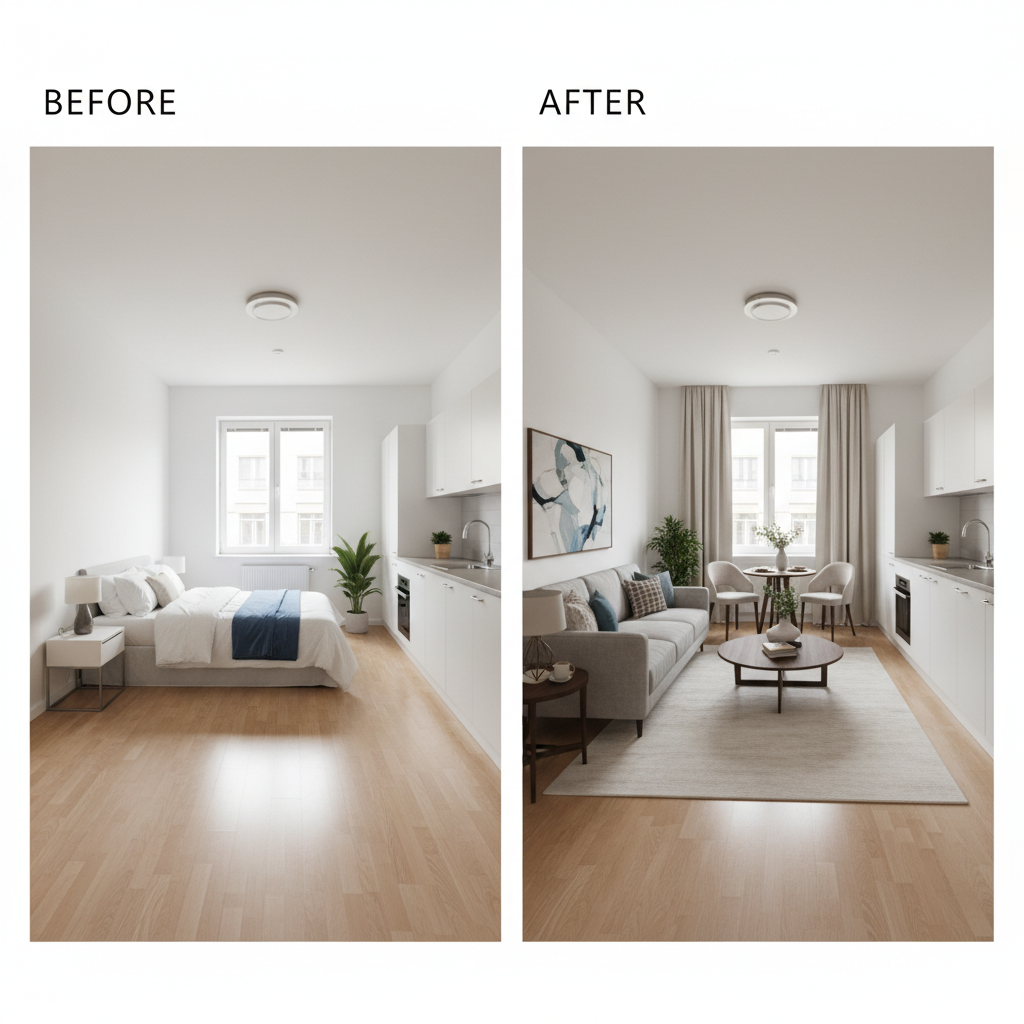
17. Showcase Before and After Comparisons
If you've renovated the studio or utilized virtual staging, display before and after photos. This highlights the transformation and demonstrates the studio's potential at a glance.
18. Keep Consistency Across Photos
When listing multiple studios or different angles of the same studio, maintain consistency in your style. This means similar lighting, angles, and editing styles to create a cohesive listing.
19. Use Descriptive Captions
Don't skip on photo captions. Use them to describe each image, highlighting features and amenities that may not be evident just by looking at the picture alone. This adds context and entices viewers further.
20. Analyze and Optimize
After your listing goes live, monitor its performance. Use insights on which photos attract the most views to optimize your listings in the future. Continuously improving your approach based on data is vital.
Key takeaway
By applying these 20 strategies to your studio listing photos, you not only improve the quality of your visuals but also enhance the chances of selling the property quickly and at a better price.