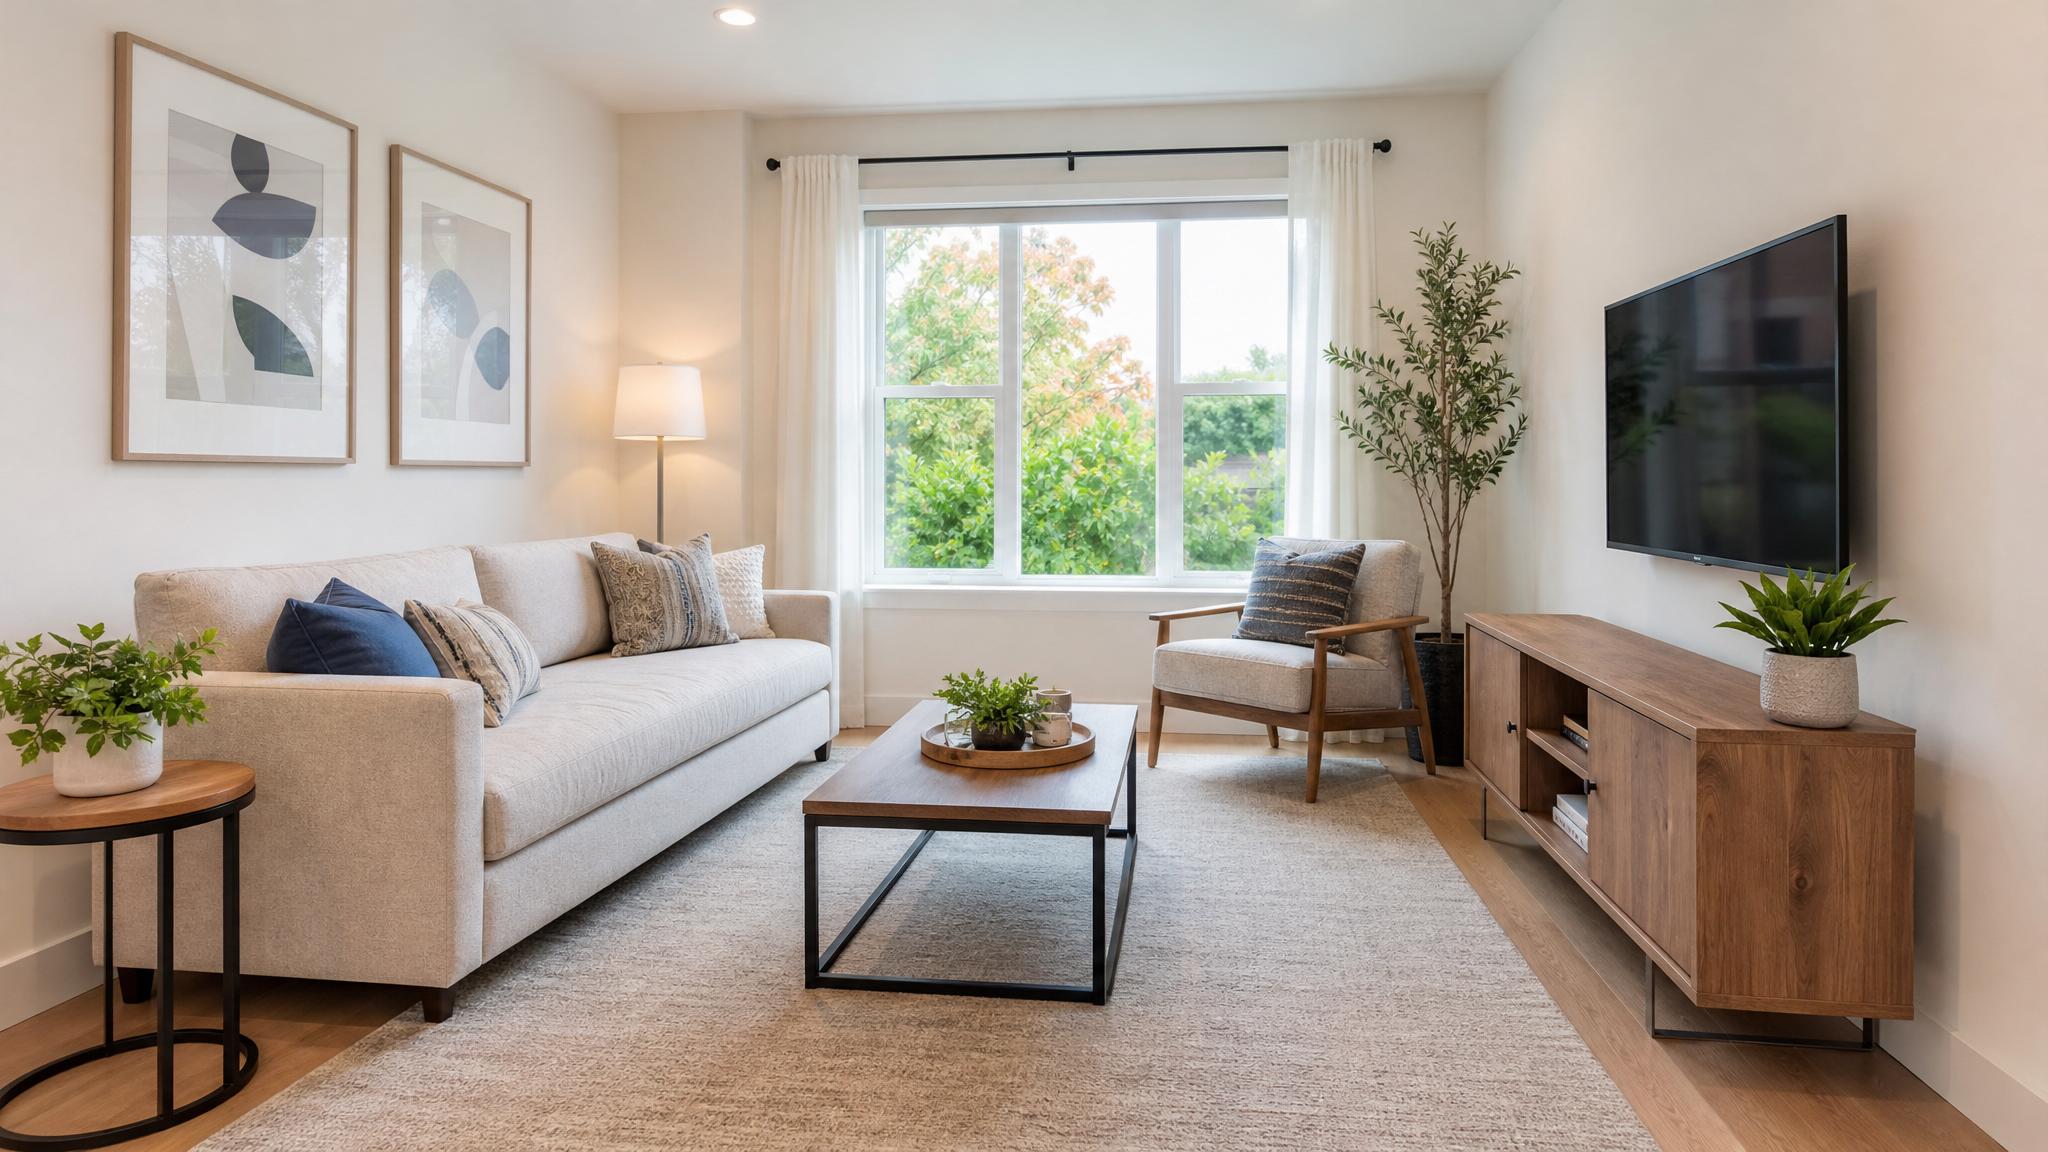
Understanding Small Living Rooms
Try Palette Immo AI Interior Styler
Transform empty rooms and listing photos with AI virtual staging and interior design. Get started in minutes.
Get startedSmall living rooms can be challenging to photograph. However, with the right techniques, you can create stunning images that highlight their potential.
Tip 1: Declutter Your Space
Before taking photos, ensure that your living room is tidy. Remove any unnecessary items that may distract from the main features of the room.
Tip 2: Use Natural Light
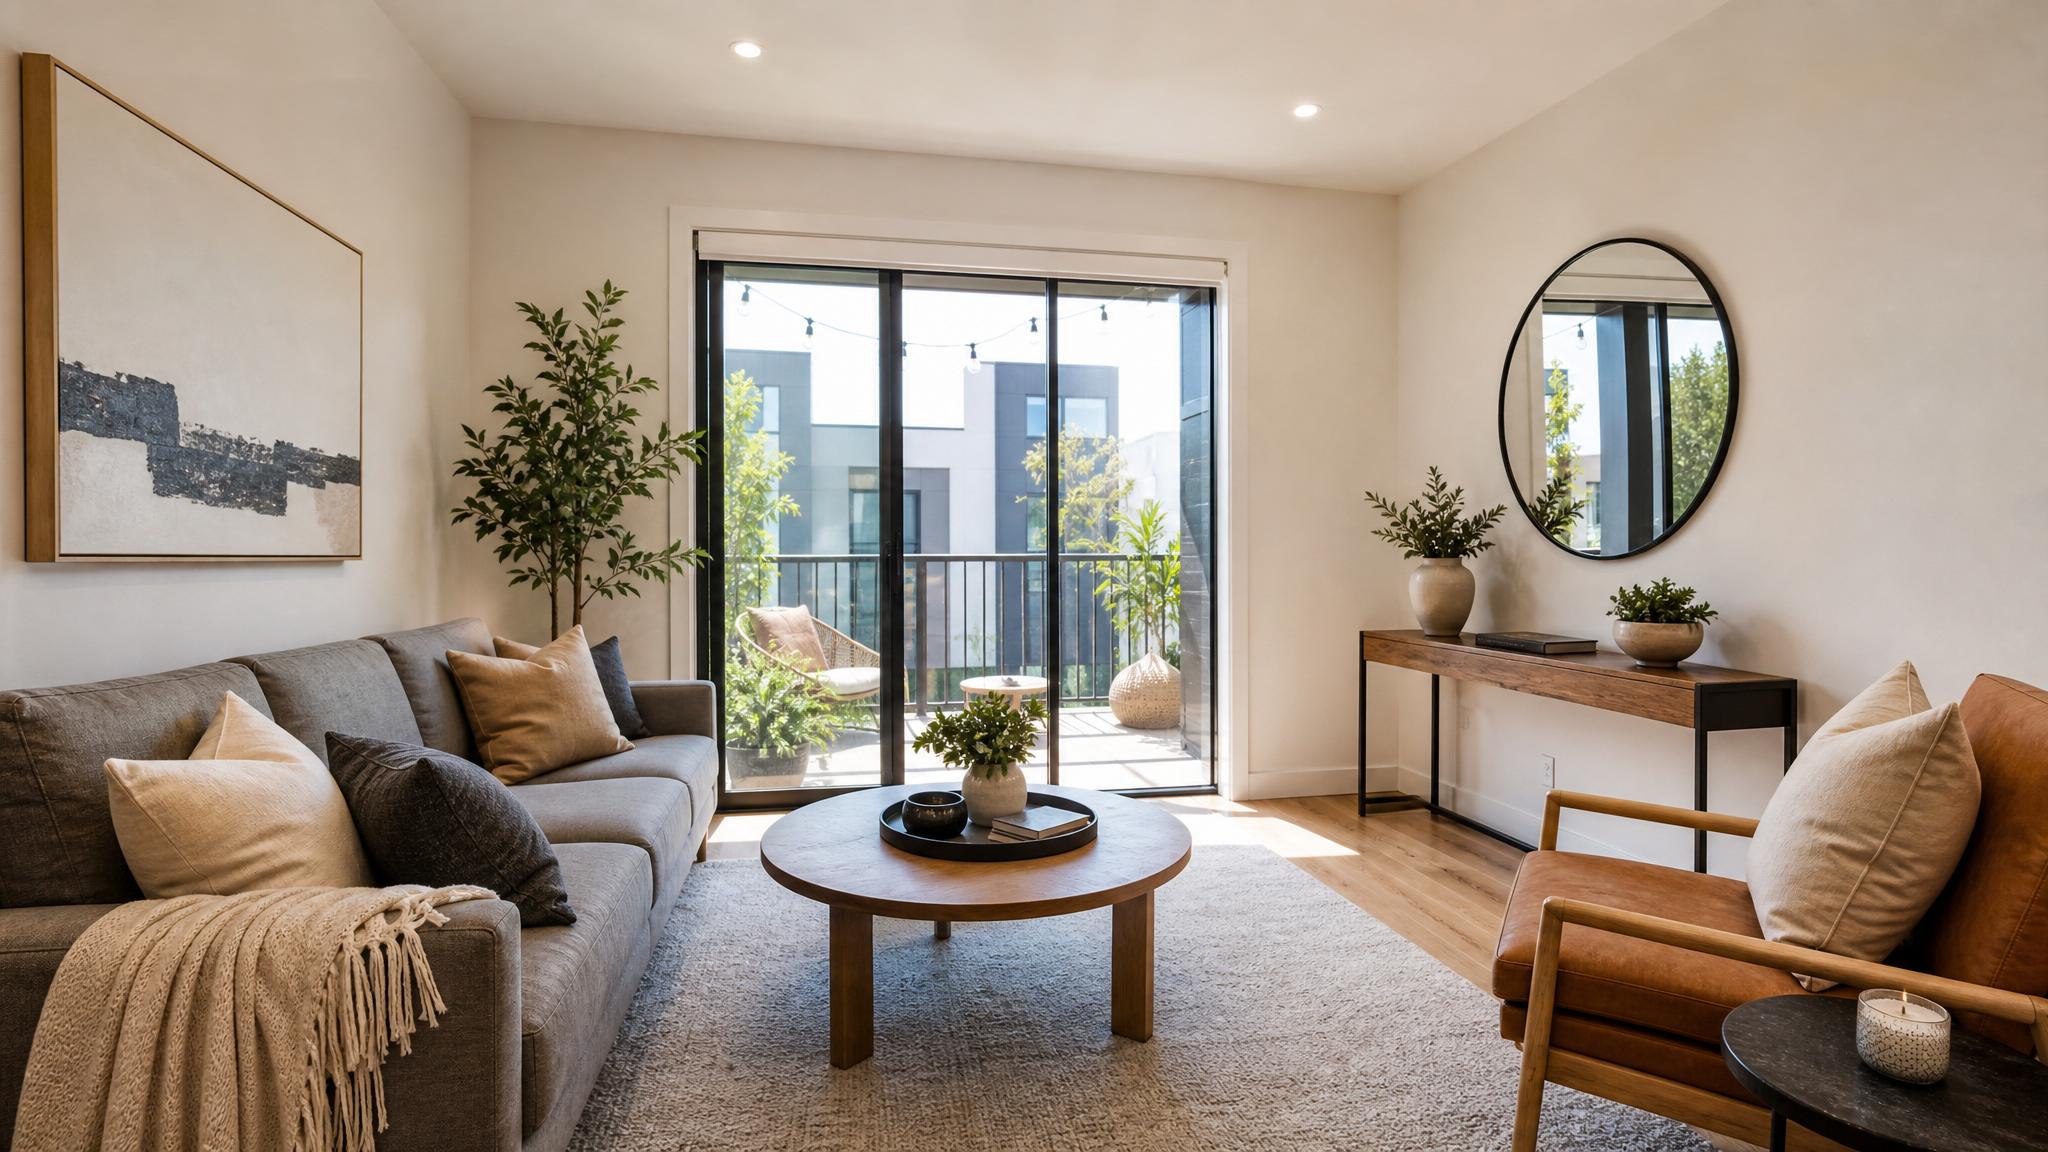
Natural light can make a small room appear larger and more inviting. Shoot during the day when sunlight is abundant and avoid harsh shadows.
Tip 3: Select the Right Angles
Experiment with different angles. Often, shooting from the corner of the room can help capture more of the space and give depth to your photos.
Tip 4: Use a Wide-Angle Lens
If you have access to a wide-angle lens, use it! This equipment can help convey the size of the room more effectively in photographs.
Tip 5: Include Scaled Furniture
When staging your living room, choose furniture that fits the space. It is essential for showcasing functionality and inviting vibes in photos.
Tip 6: Focus on Composition
Apply the rule of thirds when composing your shots. This technique can yield more visually appealing images by drawing viewers' eyes to key areas.
Tip 7: Style for Photography
Consider the styling of the room. Add decorative cushions, a throw blanket, or art pieces that complement the overall look.
Tip 8: Choose the Right Time for Photos
The time of day can drastically change the lighting in your space. Golden hour is often best for warmer, softer shots.
Tip 9: Minimize Reflections
Check for reflections in mirrors or glass surfaces. These can be distracting and take the focus away from the living room’s main features.
Tip 10: Adjust Your Camera Settings
Adjusting ISO, aperture, and shutter speed can greatly affect the outcome of your photos. Experiment to find settings that complement your style and light.
Tip 11: Post-Edit for Perfection
Use editing software to brighten images, adjust contrast, and eliminate blemishes. Post-editing can make a significant difference in your final photos.
Tip 12: Capture Details
Don’t forget to take close-up shots of unique details such as textures, colors, and materials that tell the story of the space.
Tip 13: Use Props Wisely
Strategically placed props, like a steaming cup of coffee or open magazines, can add a sense of life and warmth to your photos.
Tip 14: Use Digital Staging Tools
Consider incorporating digital staging tools like Palette.immo to visualize how various styles and layouts would look in your space.
Tip 15: Review and Adjust
After your photo session, review the images. Don’t hesitate to reshoot if something didn’t work out as planned.
Key takeaway
Photos are the first impression potential buyers have of your small living room. Follow these tips for professional-looking interiors that sell.