Understanding the Essentials: Camera Settings
Try Palette Immo AI Interior Styler
Transform empty rooms and listing photos with AI virtual staging and interior design. Get started in minutes.
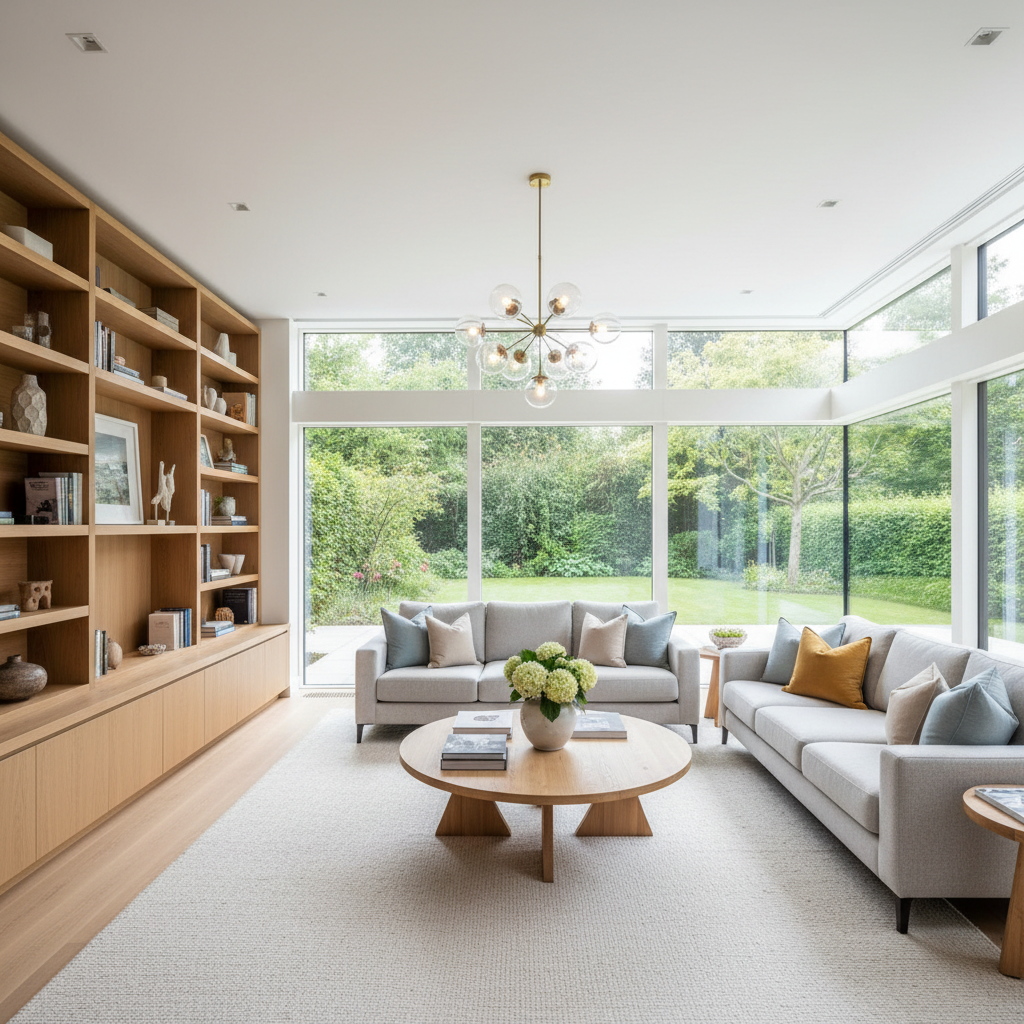
Get startedWhen it comes to real estate photography, having the right camera settings is crucial. The aim is to showcase the property in the best light (literally and figuratively). The key settings you need to master include aperture, ISO, and shutter speed.
Aperture: The Eye of the Lens
The aperture setting controls how much light enters the camera. For real estate photography, a smaller aperture (larger f-stop number) is generally preferred to achieve a greater depth of field.
This means that more of the room will be in focus, giving potential buyers a clearer view of the space. An aperture of f/8 to f/11 is typically ideal.
ISO: Brightness vs. Noise
When photographing interior spaces, lighting conditions can vary greatly. The ISO setting adjusts the camera's sensitivity to light. A lower ISO (100-400) is best for well-lit areas to reduce noise.
However, in darker spaces, you may need to increase the ISO. Keep in mind that higher ISO settings can introduce graininess, making your images look less professional. Strive for the lowest ISO that allows you to capture without motion blur.
Shutter Speed: Freezing Motion and Light
Shutter speed controls how long the camera's sensor is exposed to light. In real estate photography, a slower shutter speed can help capture more light, but it increases the risk of blur from camera shake.
Use a tripod to stabilize the camera when using slower shutter speeds. Ideally, choose a shutter speed of 1/60 seconds or faster to avoid motion blur, unless you are employing a stabilization technique.
Key takeaway
Achieving the perfect shot in real estate photography is all about finding the right balance between aperture, ISO, and shutter speed. Adjust these settings based on lighting conditions to create stunning images that highlight the property's best features.
Additional Tips for Real Estate Photography
1. Use a Wide-Angle Lens: These lenses can help capture more of the space, giving potential buyers a broader view of each room.
2. Shoot in RAW Format: This provides more flexibility in post-processing, allowing for better editing options after the shoot.
3. Take Multiple Shots: Vary your settings slightly between shots to ensure you have a range of options to choose from.
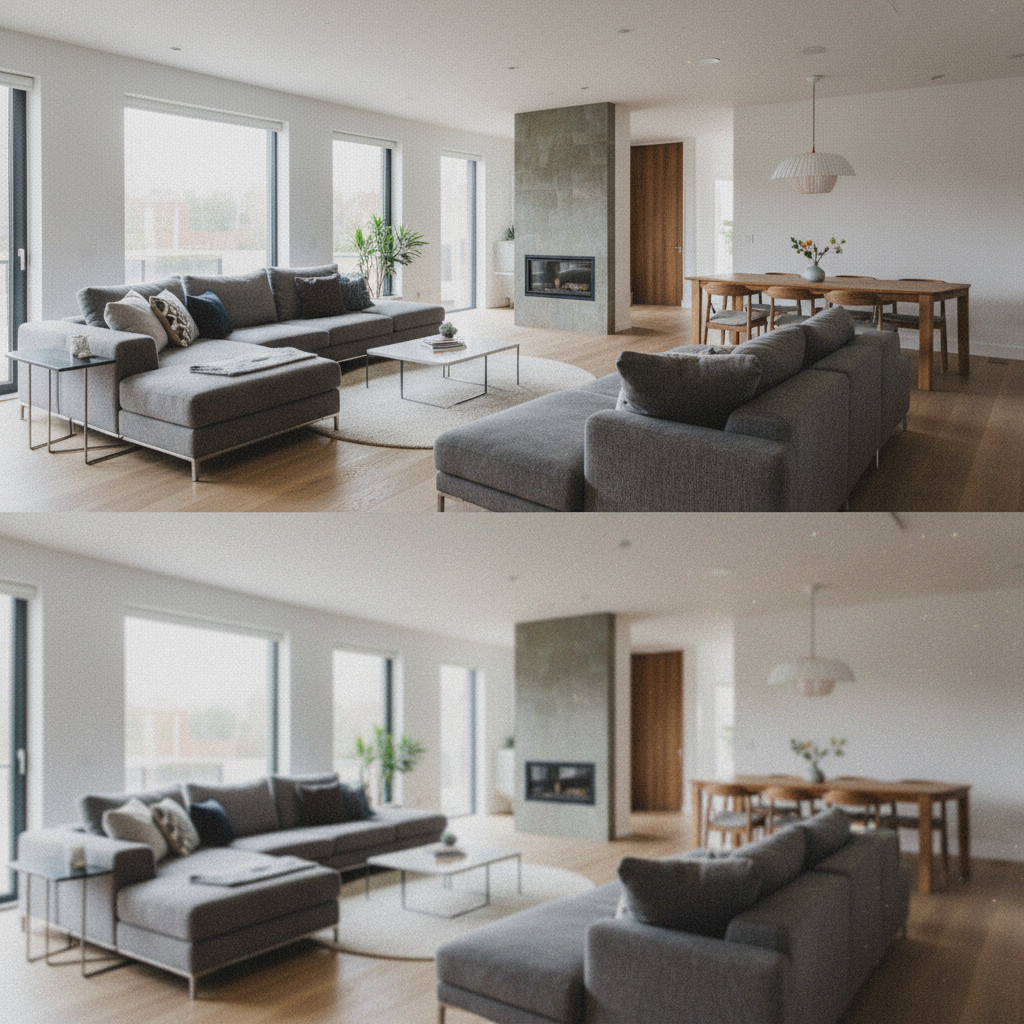
Post-Processing for Polished Photos
Even with the best camera settings, some post-processing is often necessary. Basic adjustments, such as brightness, contrast, and color correction can dramatically improve the final image.
Using software like Adobe Lightroom or Photoshop can help you achieve professional-grade images, ensuring your real estate listings stand out.