Why Lighting Matters in Photography
Try Palette Immo AI Interior Styler
Transform empty rooms and listing photos with AI virtual staging and interior design. Get started in minutes.
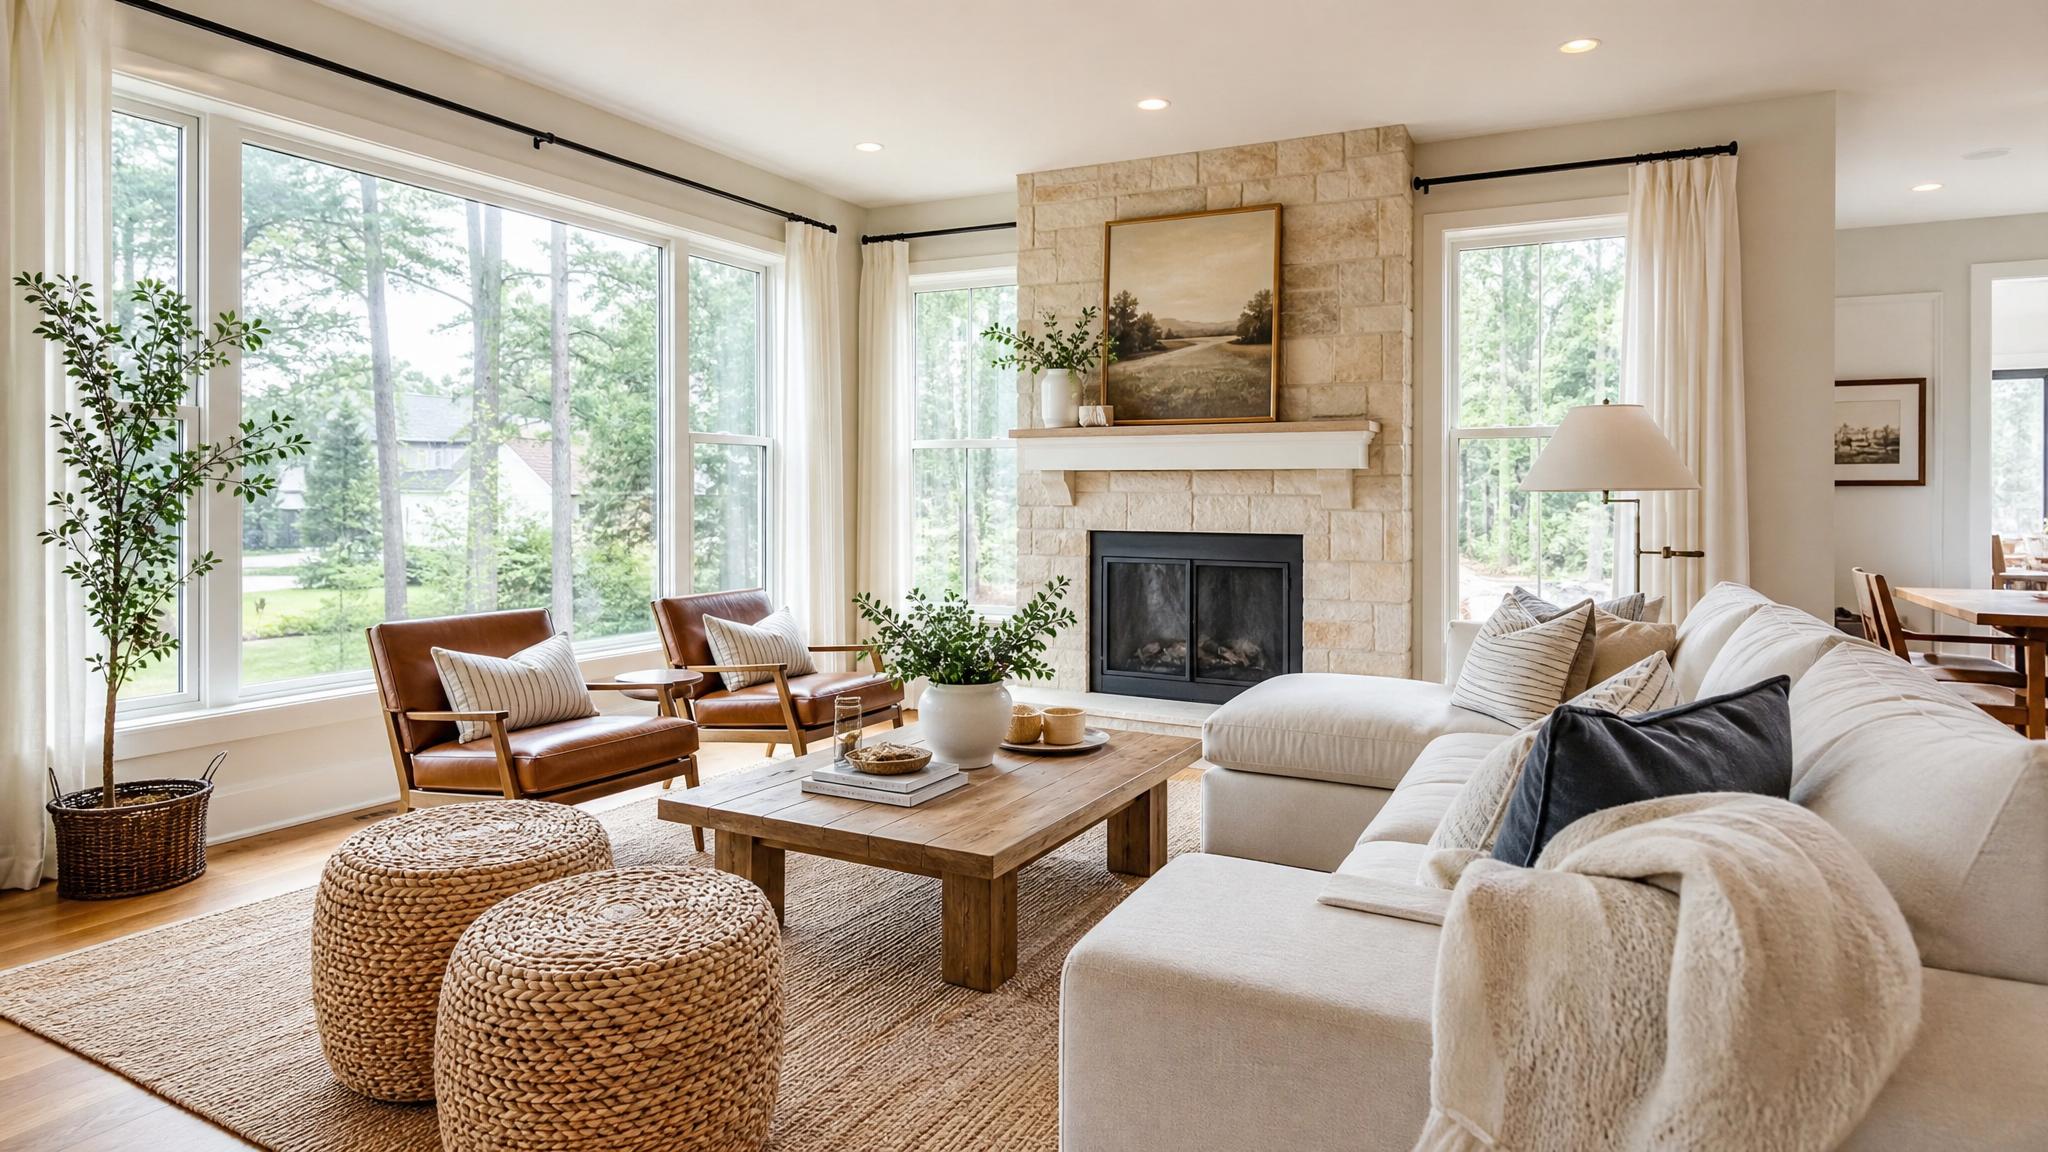
Get startedWhen it comes to real estate photography, lighting can make or break a shot. The right lighting can highlight features, create dimension, and set the mood for potential buyers. Conversely, poor lighting can make a room appear uninviting or less appealing. Understanding how to manipulate natural and artificial light can enhance your living room photos dramatically.
1. Embrace Natural Light
Natural light is often the best friend of interior photography. Aim to take your living room photos during the daytime when sunlight pours in through windows. Open curtains and blinds to allow natural light to flood in, illuminating the space and bringing out colors and textures. Use a wide-angle lens to capture how light dances across the room. However, be mindful of harsh light and shadows.
2. Control Artificial Lighting
While natural light is beneficial, it’s essential to also consider artificial lighting sources. Make sure all lights are turned on before taking pictures. Use soft white bulbs to provide a warm and inviting atmosphere. Additionally, consider using lamps to create layered lighting for a cozy feel. Be cautious not to mix different color temperatures, which can create unwanted color casts.
3. Avoid Overexposure and Underexposure
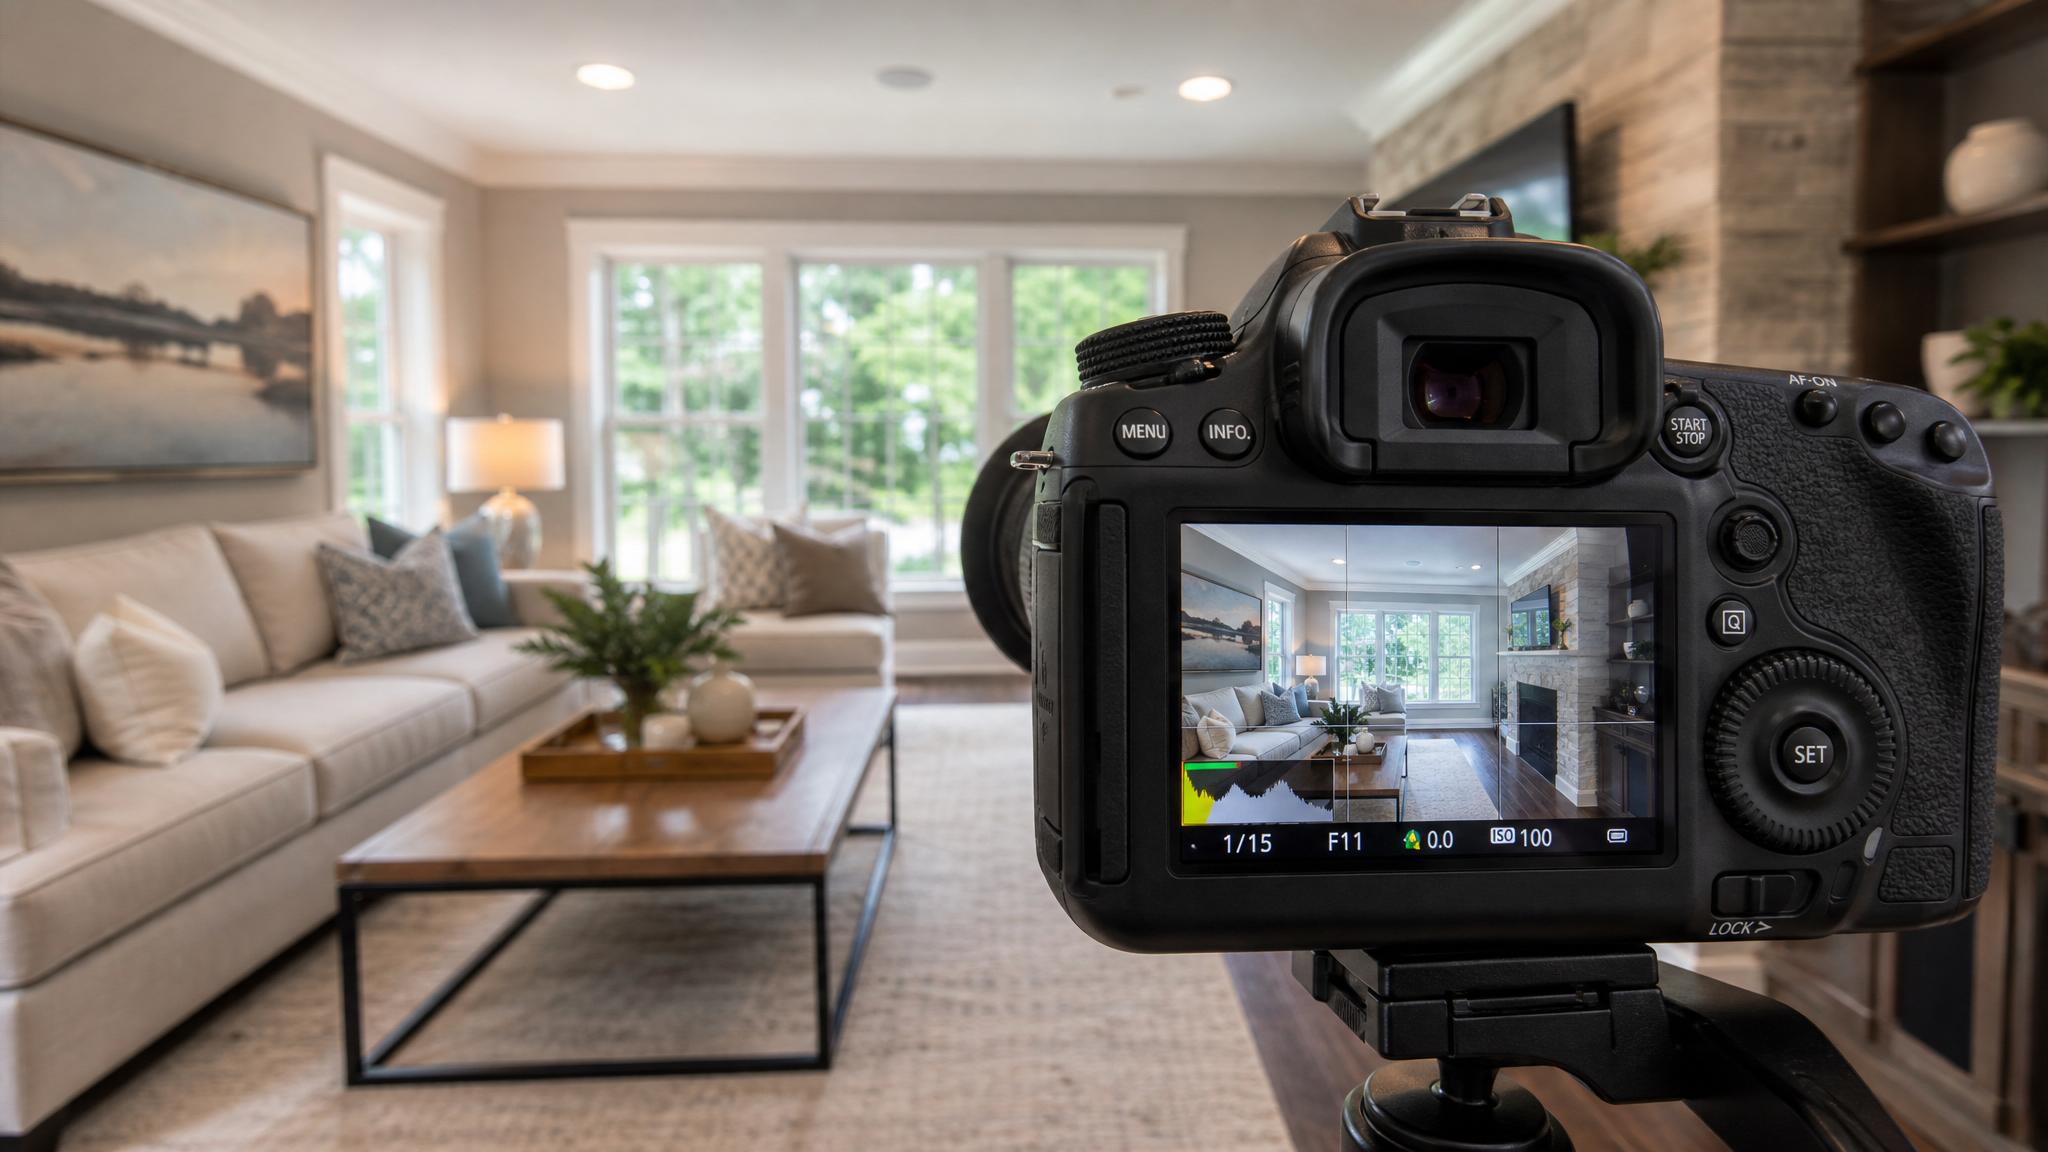
Striking the perfect balance in exposure is crucial. Overexposed photos can lose details, while underexposed images may lack vibrancy. Use your camera histogram to ensure your exposure is correct. Adjusting settings like ISO, aperture, and shutter speed can help achieve balanced lighting. In some cases, you may need to take several shots at different exposure levels to find the best one.
4. Use Reflectors to Bounce Light
Sometimes, certain areas in your living room might need a bit more light. This is where reflectors come in handy. You can use large white boards, mirrors, or even professional reflectors to bounce light into shadowed areas. This technique helps to soften shadows and illuminate the entire room, making it more inviting in photos.
5. Adjust White Balance
The white balance setting on your camera or smartphone can significantly affect the overall mood of your living room photos. The goal is to ensure that colors appear natural, especially in areas with mixed lighting. Setting the white balance manually allows you to fine-tune the colors to match the ambiance created by both natural and artificial lights.
Key takeaway
Effective lighting can transform your living room photos from basic to breathtaking. Experiment with different techniques, and don’t hesitate to utilize resources like reflectors and custom white balance settings to achieve the best results.