Understanding the Importance of Lighting
Try Palette Immo AI Interior Styler
Transform empty rooms and listing photos with AI virtual staging and interior design. Get started in minutes.
Get startedLighting can dramatically affect the mood and perceived size of a living room. For photographers and real estate agents, it's essential to master lighting to capture inviting and well-composed images. Natural light is often the best source of illumination, but strategic use of complementary tools can enhance any shot.
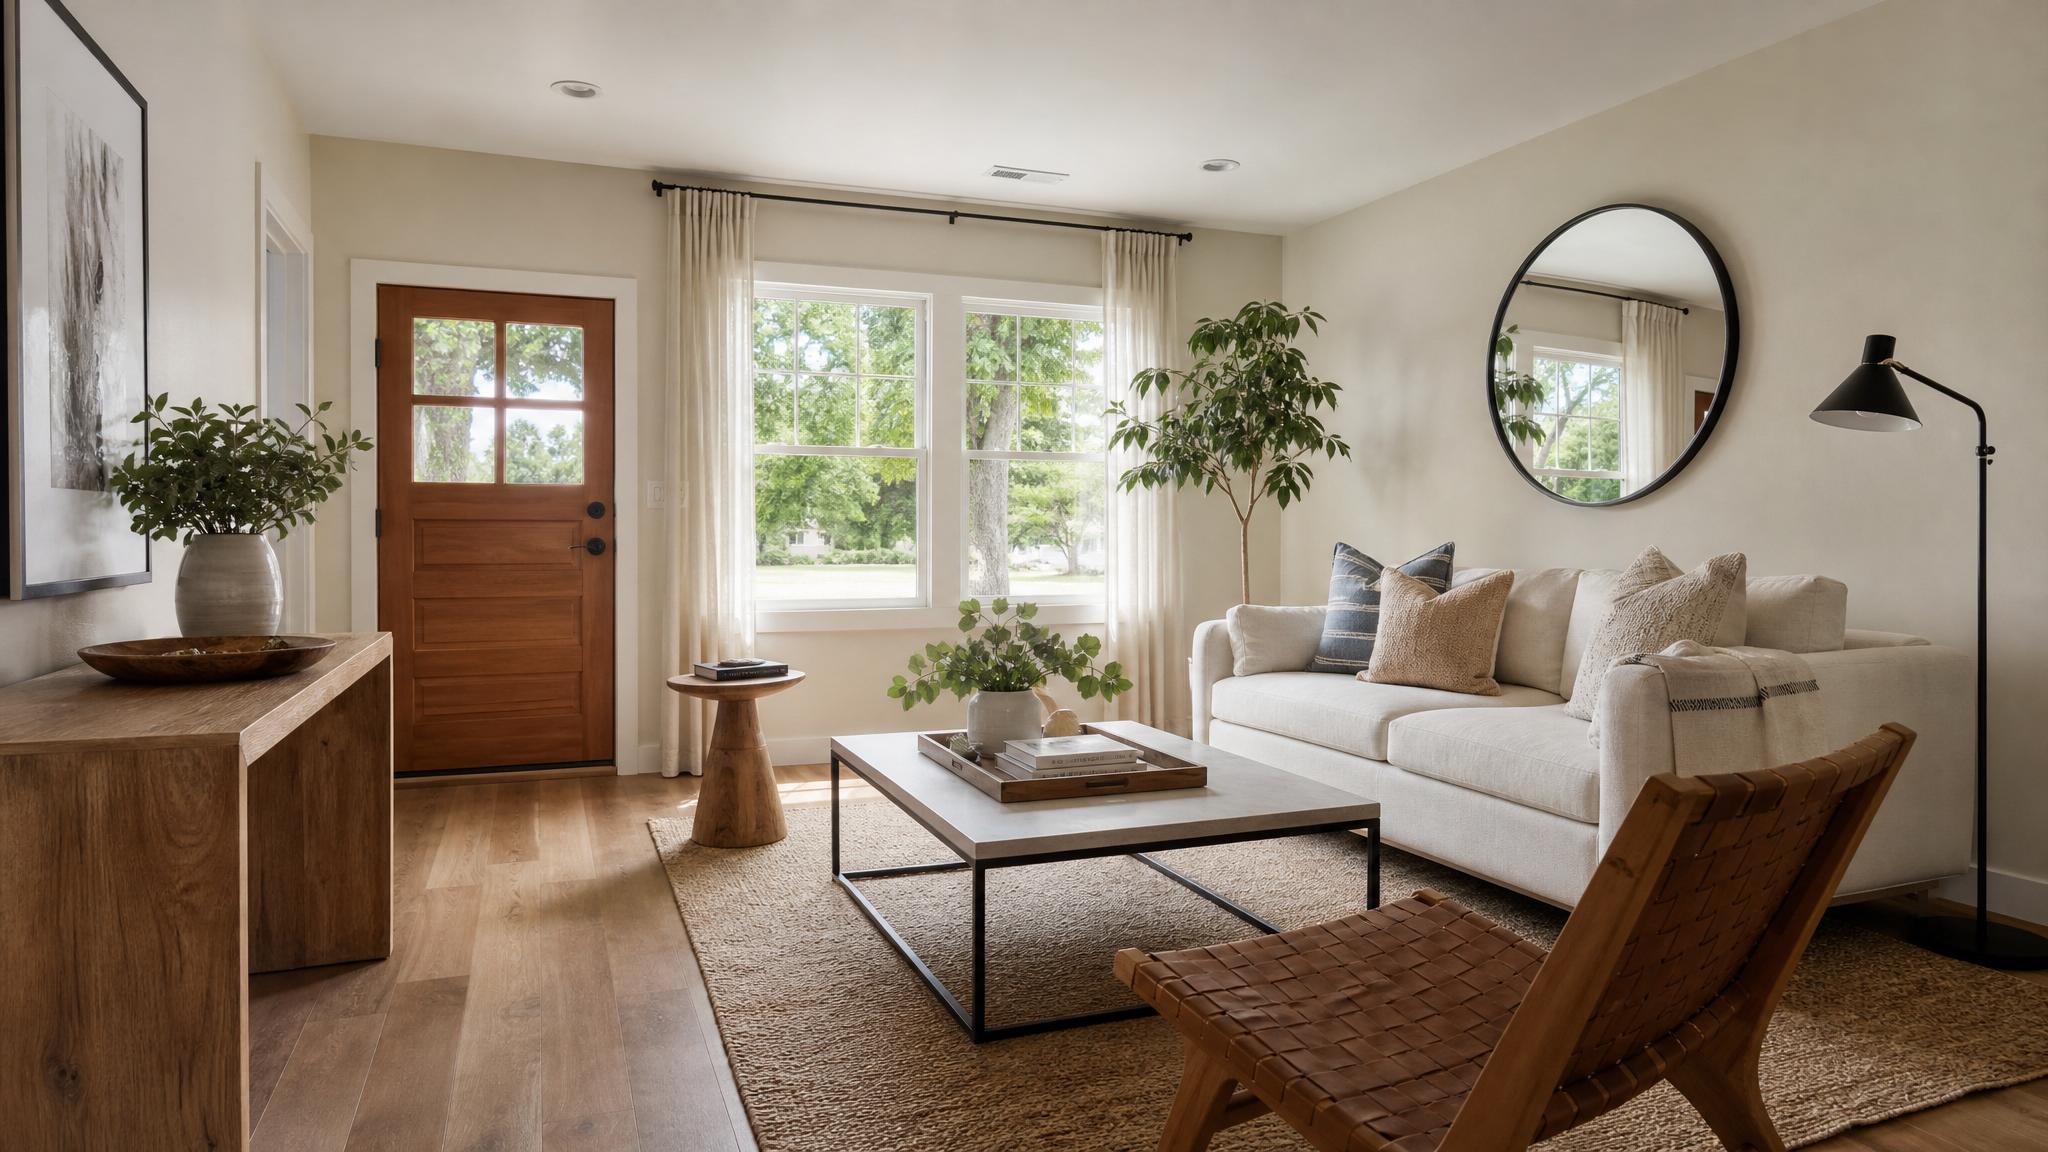
1. Use Natural Light to Your Advantage
Avoid flash photography, which can create harsh shadows and unflattering contrasts. Open curtains and blinds to allow as much natural light into the room as possible. Consider shooting at different times of day to capture the room in different lighting conditions.
2. Choose the Right Time of Day
The golden hour—shortly after sunrise or before sunset—provides soft, warm lighting perfect for photos. Plan your photography sessions during these times to achieve the best results.
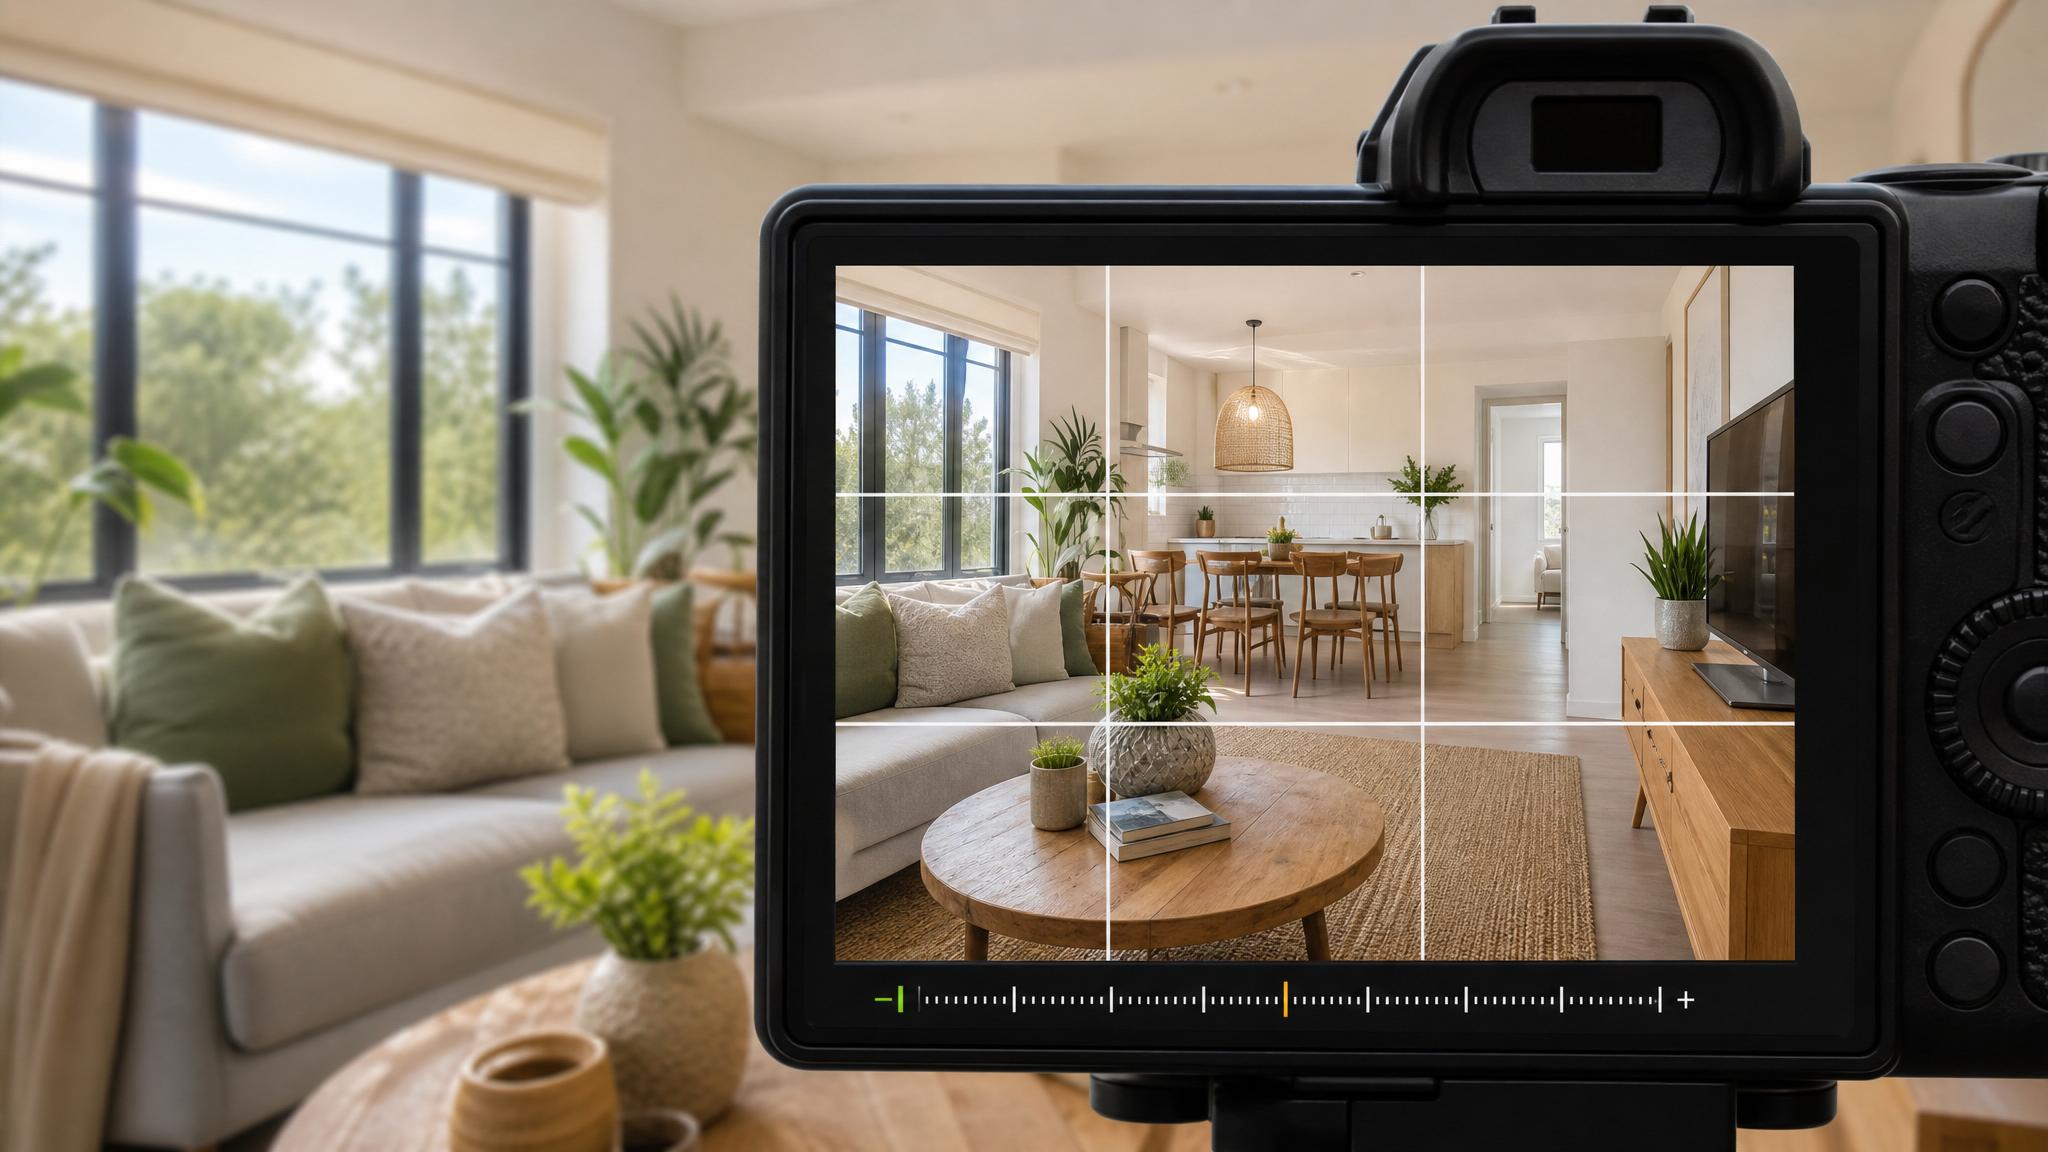
3. Adjust Your Camera Settings
If you're using a DSLR or mirrorless camera, experiment with higher ISO settings in low-light situations to compensate for lack of flash. This can help enhance your images without sacrificing quality.
4. Utilize Reflective Surfaces
Mirrors, glass tables, and metallic decor can bounce light around the room. Use these reflective surfaces strategically to brighten dark corners and create a sense of space.
5. Experiment with Angles
Try taking pictures from various angles to determine which viewpoint captures the light best. Sometimes, moving slightly to the left or right can lead to significant improvements in lighting.
6. Layer Your Lighting
In addition to natural light, consider incorporating floor lamps, table lamps, and overhead lighting to create a layered lighting effect. This distribution can prevent areas from appearing too dark or flat.
7. Use Soft Light
Direct lighting can create harsh shadows. Instead, use diffusers or lamps with soft white bulbs to produce a more inviting glow.
8. Be Mindful of Color Temperature
Mismatched color temperatures can create an odd effect in photos. Ensure that all light sources have the same color temperature—typically soft white or daylight bulbs work best together.
9. Avoid Mixing Different Light Sources
The blending of different types of light can create undesirable color casts in photos. Stick to similar light sources to maintain consistency in your images.
10. Remove Clutter
A cluttered room can distract from the light and the space itself. Clear surfaces and declutter before taking photos to let the light shine through unobstructed.
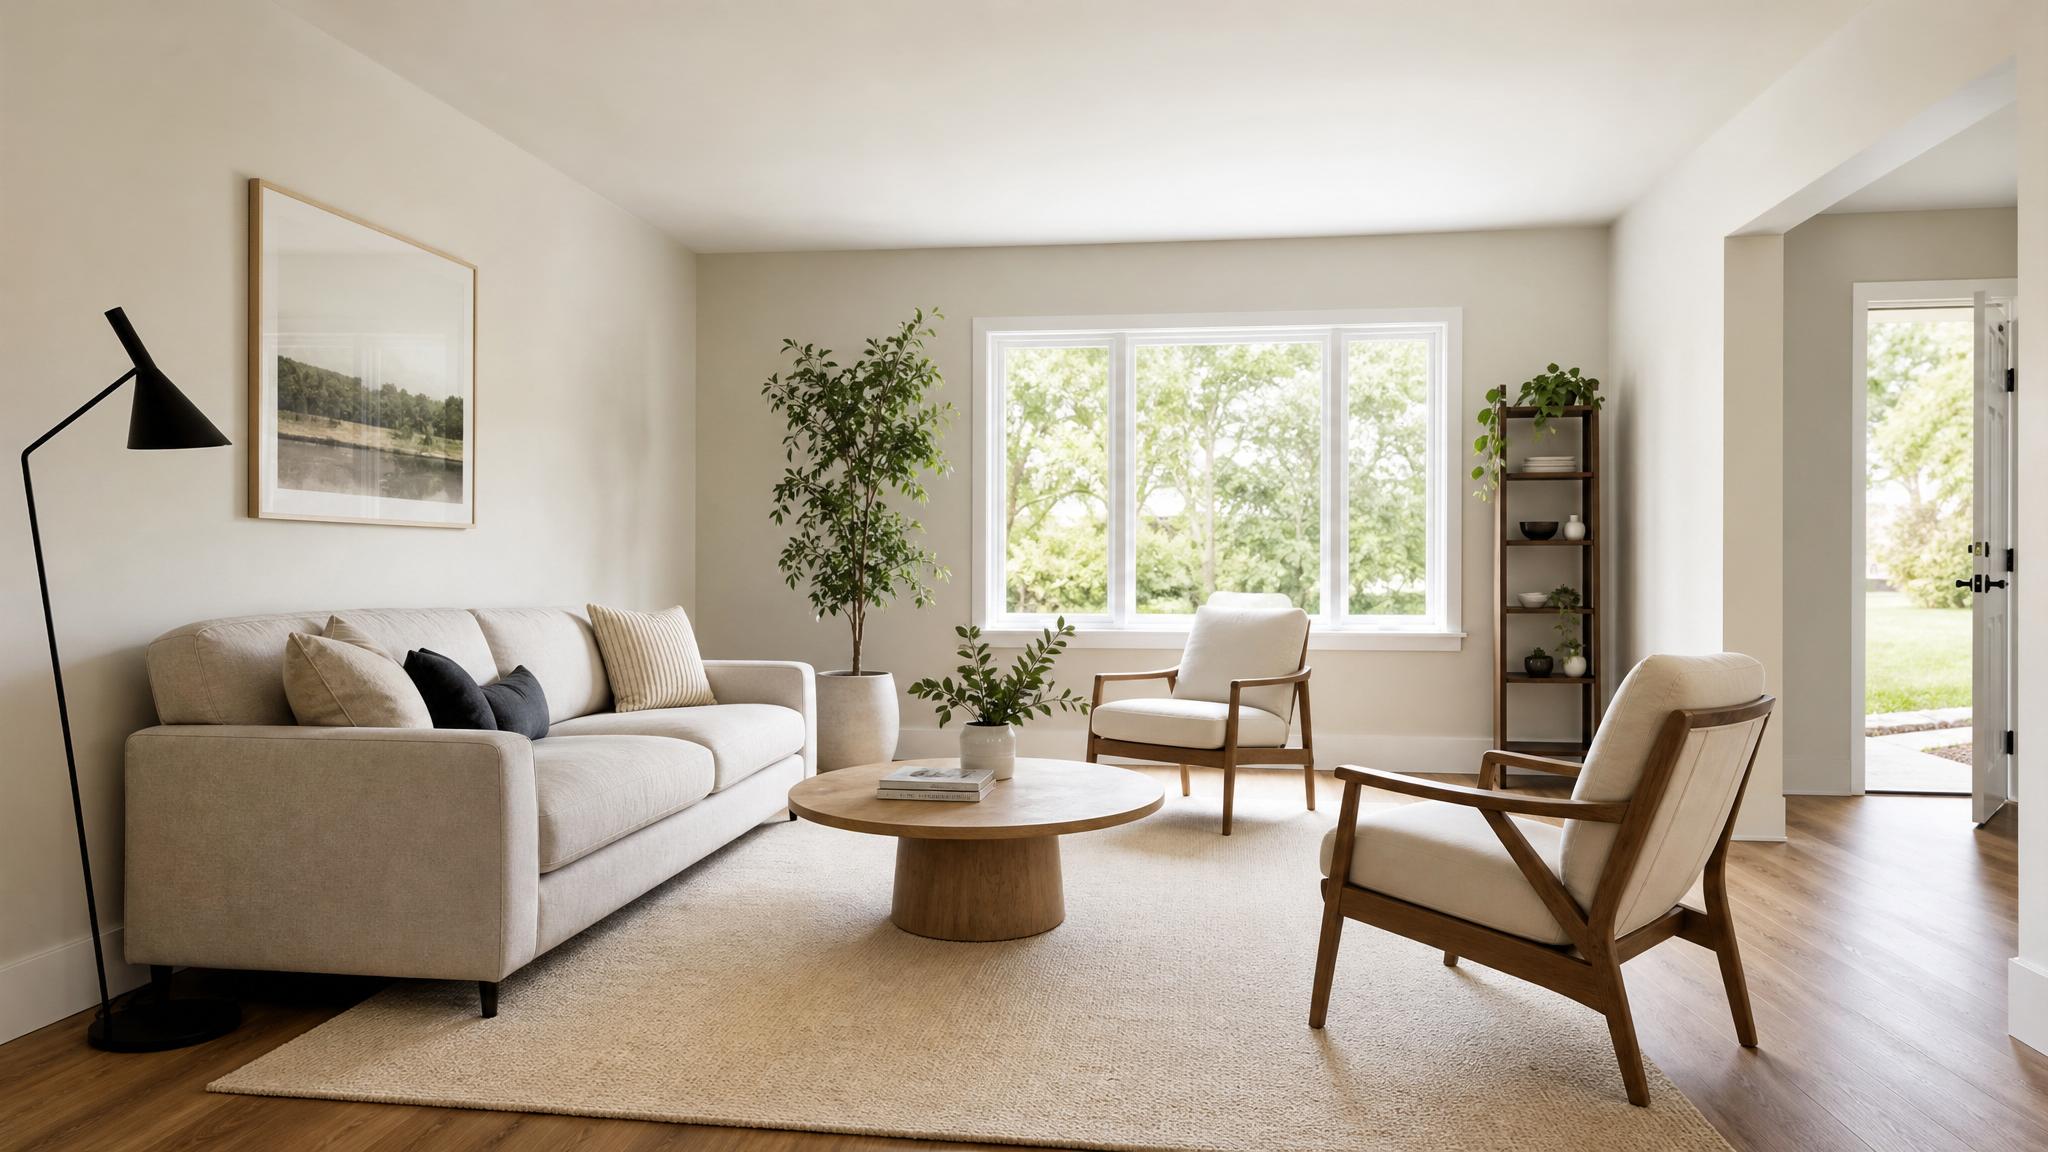
11. Position Furniture Wisely
Experiment with furniture arrangements to maximize natural light. Placing larger items away from windows can allow light to fill the space more evenly.
Key takeaway
Great lighting can make all the difference in capturing stunning small living room photos. Use natural light creatively and eliminate distractions for the best shots.
12. Use Light-Reflecting Decor
Consider adding light-colored rugs or walls to reflect natural light, making the room feel brighter and more spacious.
13. Keep Windows Clean
Dirty windows can filter light and lead to gloomy photos. Clean your windows regularly to allow maximum light into your space.
14. Install Dimmers
Dimming switches can help control the brightness in a room, allowing you to adjust the light intensity as needed for optimal photos.
15. Master the Use of Shafts of Light
A shaft of light coming through a window can add drama to photos. Position your camera to capture this effect and highlight unique architectural features.
16. Use Night Photography Techniques
If your living room doesn't have much natural light during the day, use night photography techniques to capture warmth from ambient light.
17. Balance Lighting with Shadows
Shadows can add depth to your photos. Allow for some contrast in your images by not overexposing lighter areas, ensuring balance.
18. Try Top-Down Lighting
Using overhead lights or lamps above seating areas can create warm pools of light, making the space feel cozy and inviting.
19. Use Colored Lights for Effect
Experiment with colored LED bulbs to create ambience and make your small living room stand out. Play with different colors to find a pleasant atmosphere.
20. Frame Your Shots with Light
Use the existing light sources as frames in your shots to highlight the room's key features and create a more dynamic composition.
21. Consider Seasonal Lighting
Seasonal changes can affect lighting; plan your photoshoot to align with the best seasonal light conditions for your living space.
22. Use Light Motivating Approaches
Think creatively about how light interacts with your furniture and decor; position elements to create a visual guide through the space.
23. Don’t Neglect Post-Editing
Even the best shots can benefit from post-editing. Use light correction tools in editing software to enhance your photos further without losing the warmth of the natural light.
24. Get the Right Equipment
Invest in a sturdy tripod or stabilizer to keep your camera steady during longer exposures in low light. It makes a noticeable difference.
25. Create a Virtual Staging
If lighting is still an issue, consider using tools like Palette.immo for virtual staging. This can enhance your photos beautifully while ensuring they are optimized for sales.
26. Track Your Progress
Keep a light journal to note what types of lighting work best for different areas of your small living room. Over time, you'll refine your approach and see continuous improvement.
27. Learning from Mistakes
Don't hesitate to review your previous photography attempts. Learning from past mistakes can help you identify what lighting techniques worked and what didn’t.
28. Collaborate with a Professional
When in doubt, consider collaborating with a professional photographer. They can provide valuable insights and techniques tailored to your specific space.
29. Practice, Practice, Practice!
As with any skill, the more you practice photographing your small living room, the better your results will be. Try out different techniques frequently!
30. Have Fun with It!
Lastly, remember that photography should be fun. Experiment with your lighting styles and techniques to discover what works best for your aesthetic.